VMware Workstation 14 has been released recently. One of the great new features is that you can import a VMware vCenter Server Appliance (VCSA) and run it without adding specific information to the VMX file.
Check the tutorial below to see how it works.
Import VCSA into VMware Workstation
First mount the VCSA iso that you downloaded from VMware.
You can find the OVA file in the VCSA folder. Drag it to VMware Workstation or open it from the File menu.
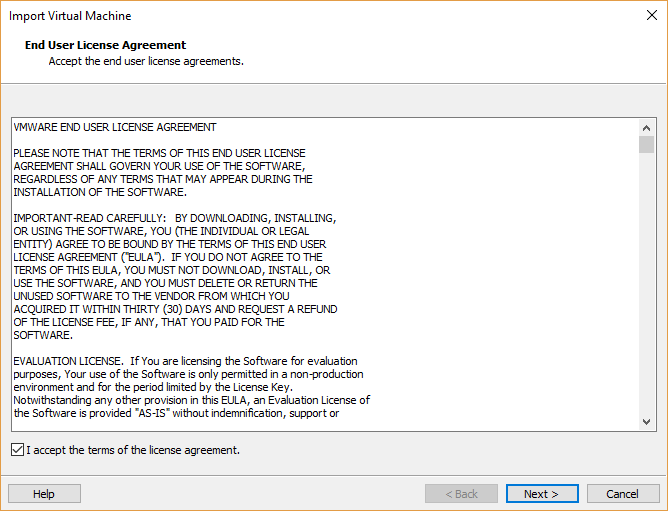
You are presented the EULA. Check the “I accept…” box and click Next.
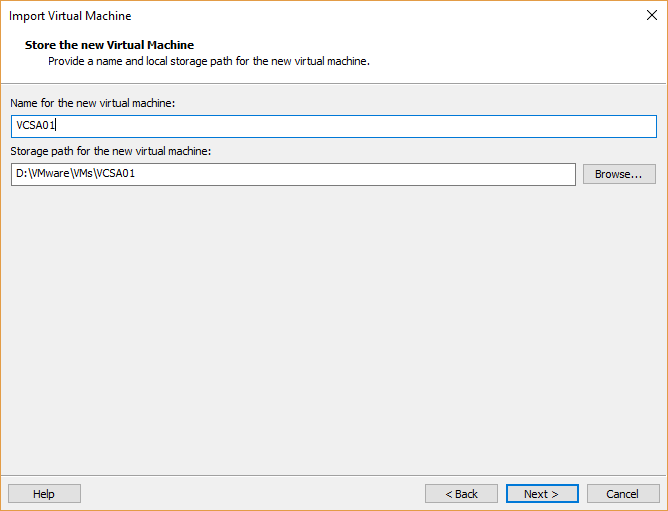
On the next screen, give your VCSA a name, specify the VM location and click Next.
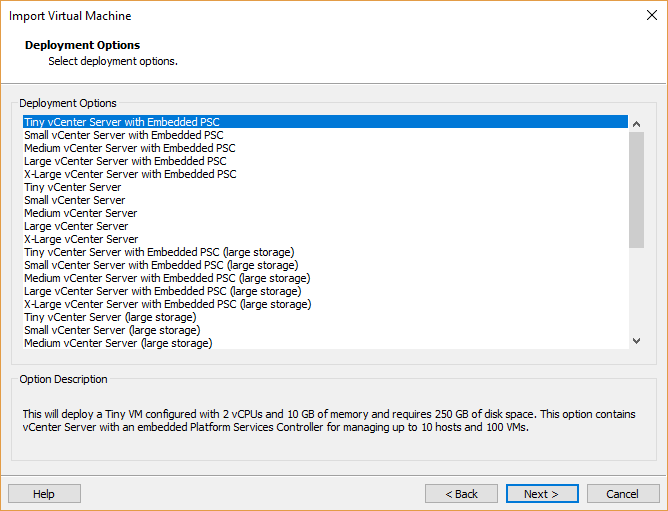
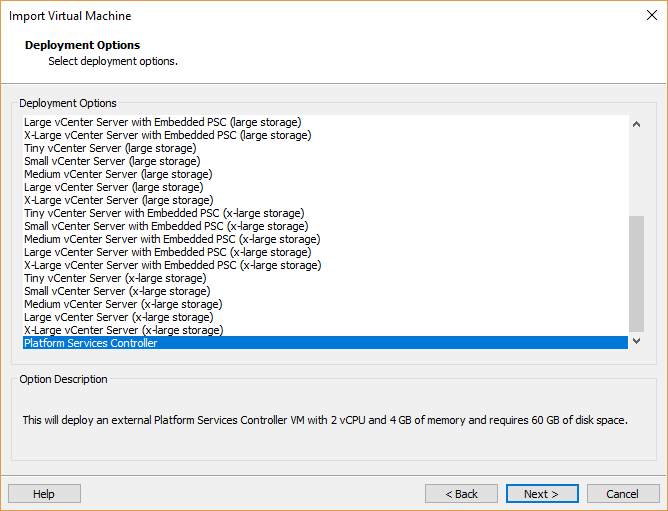
Now you need to decide the size of your VCSA and if you want an embedded Platform Services Controller. Choose one of the options that fits your environment. If you want to install a Platform Services Controller only, choose the last option and click Next.
Platform Services Controller only:
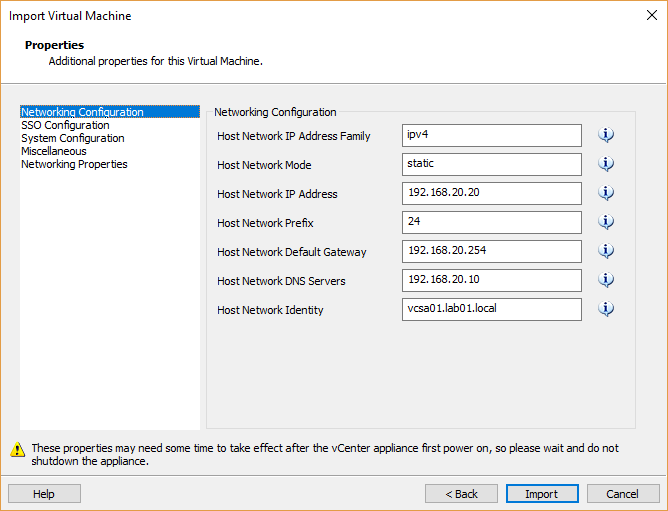
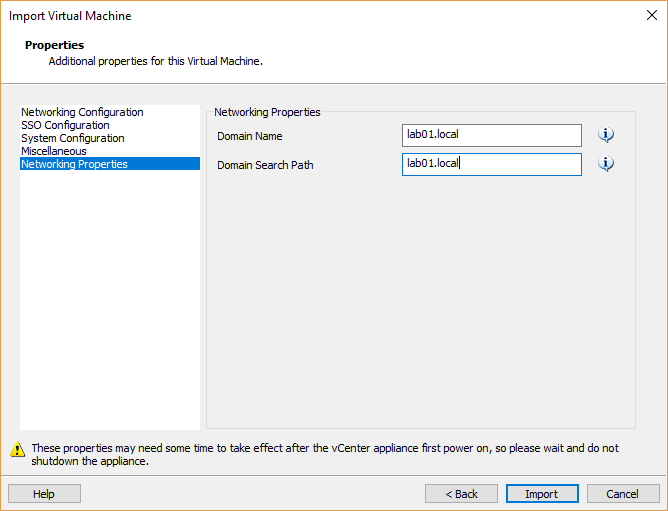
Now you need to fill in additional properties for this VM. For extra information about the properties, click the information (i) button on the right of each property.
First specify the Networking Configuration.
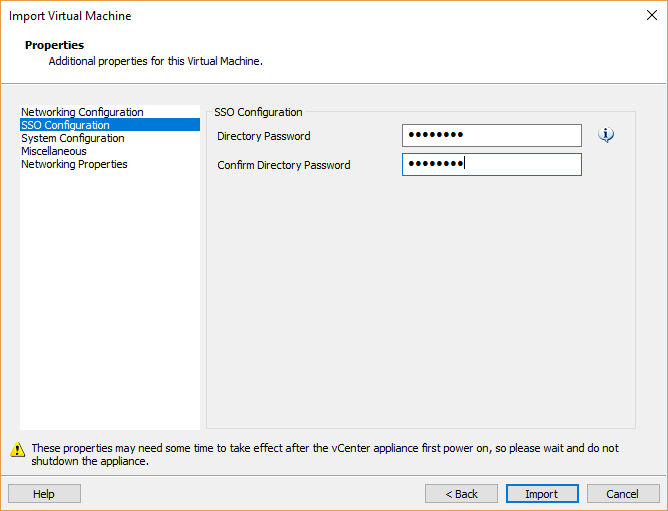
Fill in the SSO Configuration Directory Password.
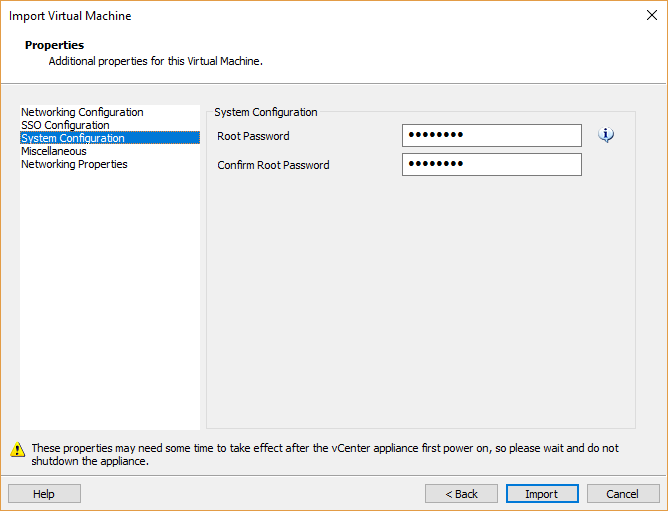
Fill in the Root password.
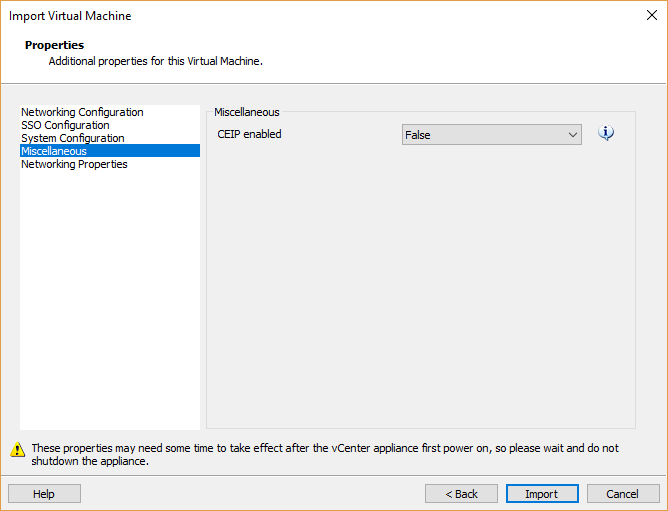
Change the Customer Experience Improvement Program (CEIP) setting if needed.
Fill in the Domain Name and Search Path and click Import.
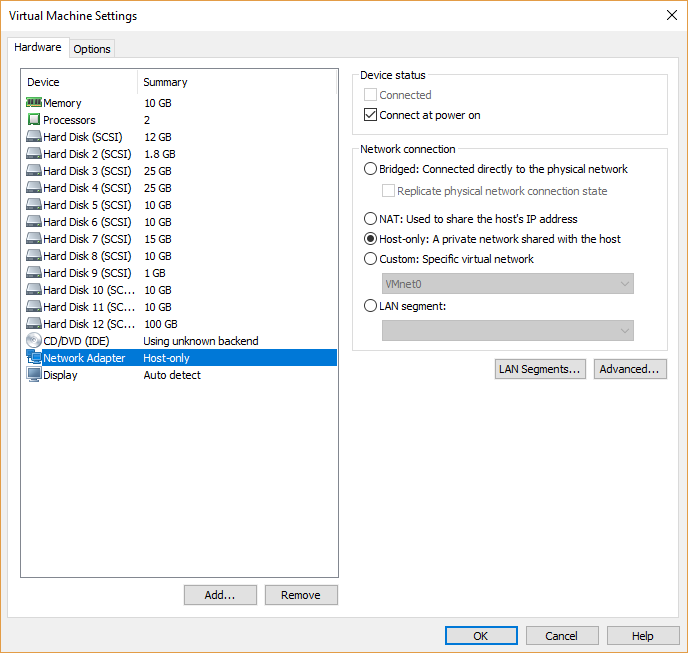
The OVA file is imported. Once it has been completed, you might want to change the network for the network adapter. I prefer to use Host-only for my lab environment.
Now you can start the VCSA!
Remember that it automatically reboots after a few minutes once it has been started. Check https://<VCSA-FQDN>:5480 to check the setup. When the setup is complete, you can browse the VCSA on https://<VCSA-FQDN>.
Leave a Reply